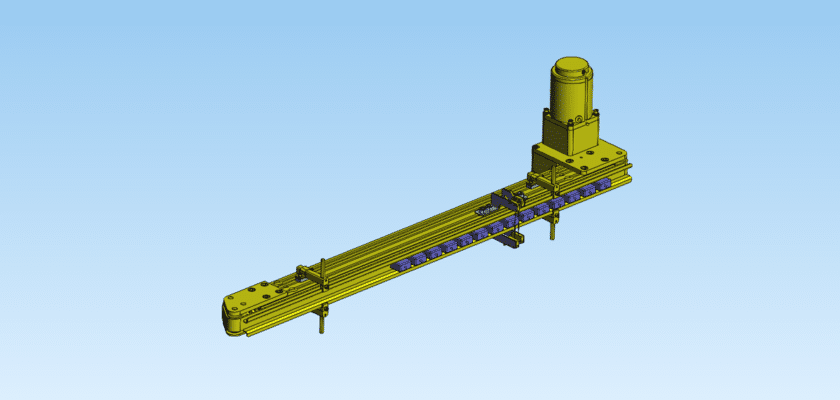
Сайт Workpiece Qualification and Inspection Process is a foundational pillar of high-precision manufacturing, ensuring that every manufactured component meets its intended design specifications before leaving the production floor. This mechanical assembly and process layout provide a controlled environment for measuring critical dimensions, surface finishes, and geometric tolerances. By utilizing a combination of precision reference surfaces, dial indicator mounts, and go/no-go gauges, this system transforms subjective checks into a repeatable, data-driven qualification stage.
By downloading this comprehensive чертеж, you gain access to a blueprint for a professional-grade inspection station. The CAD data includes detailed designs for high-stability granite or cast-iron base plates, adjustable probe arms, and standardized part locators that ensure the workpiece is held in the exact same orientation for every check. This is essential for maintaining “R&R” (Repeatability and Reproducibility) standards in an ISO-certified environment. Whether you are performing manual spot checks or integrating automated sensors for a high-volume line, these drawings provide the mechanical clearance and rigid mounting points necessary for sub-micron accuracy. Integrating this qualification framework into your workflow will significantly reduce customer returns and enhance your reputation for quality.
Ключевые особенности:
- Precision Reference Datum: Features a ground-and-lapped surface plate design to serve as an absolute zero-point for all measurements.
- Modular Gauge Mounting: Includes a versatile “T-slot” or “grid-hole” system for mounting dial indicators, LVDTs, or laser scanners.
- Rapid Calibration Interface: Designed with designated locations for master gauge blocks to allow for quick daily calibration of the station.
- Vibration-Isolated Architecture: The frame is engineered to minimize floor-borne vibrations that could skew sensitive measurement data.
- Ergonomic Inspection Layout: Optimized for high-visibility and ease of access, reducing operator fatigue during long inspection shifts.
